Why anatomical drawing improves your art

Anatomical drawing is much more than just depicting muscles and bones. It forms the foundation for expressive and lifelike figure representations. By understanding anatomy, you gain the ability to portray bodies in their diverse forms and movements – from the subtle tension of a muscle to the dynamic power of a pose.
Anatomy as the basis for convincing figures
German artists have always emphasized the importance of anatomical knowledge. It forms the basis for credible figures that captivate the viewer. Even small inaccuracies in anatomy can destroy the illusion of reality.
Anatomy helps prevent errors
Anatomical knowledge helps you avoid common mistakes when depicting figures. Proportions, for example, quickly appear unrealistic if the ratio of head to body is incorrect. The placement of joints and muscles is also crucial for a realistic representation.
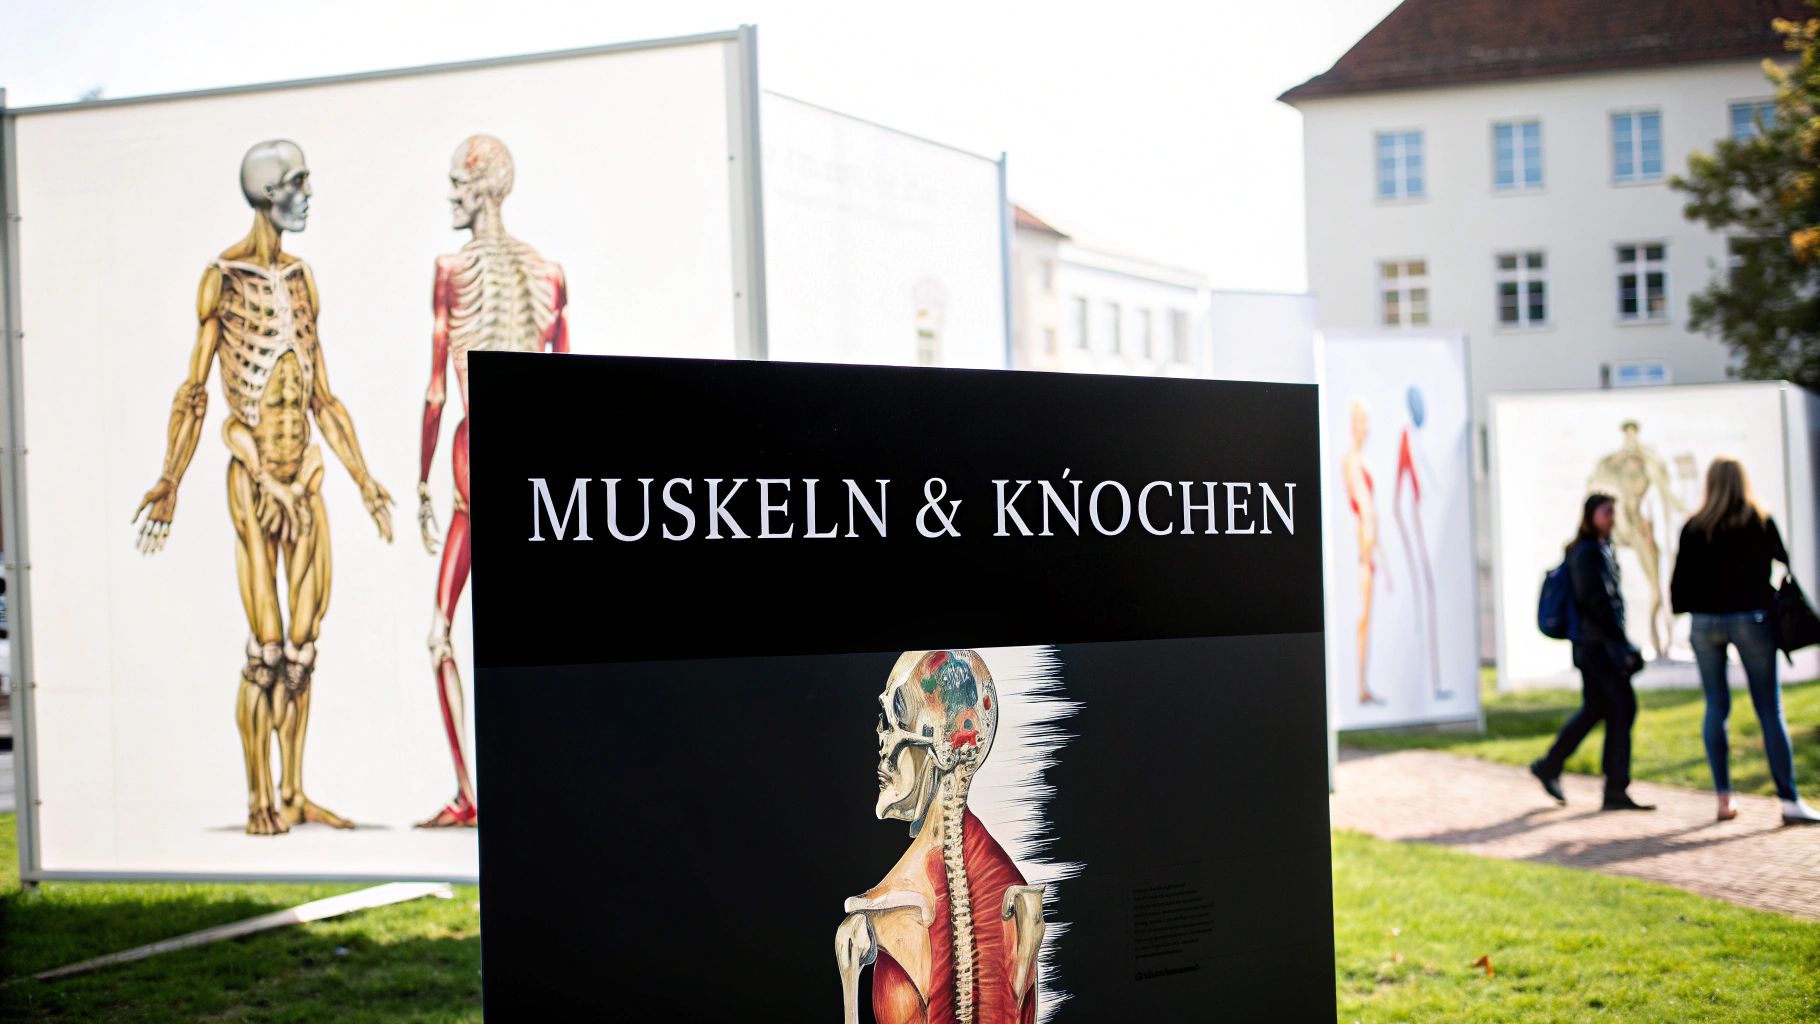
The art of anatomical drawing has a long history in Germany, especially at the Dresden Academy of Fine Arts. Since its founding in 1764, anatomical drawing has been an integral part of the curriculum. Artistic anatomy was taught jointly by artists and physicians and was an important subject at art academies until the 20th century. Even today, there is great interest in this art form. Symposia and conferences deal with anatomical drawing from artistic, theoretical, and historical perspectives. Learn more about the history of anatomical drawing here
Sharpened Perception through Anatomy
Anatomical drawing trains your own powers of observation. You learn to look more closely and capture the details of the human body. This skill is not only important when drawing figures, but also positively influences all areas of your artistic development – from portrait painting to character design.
Anatomy for Dynamic Poses and Expression
Understanding musculature allows you to draw dynamic poses and expressive figures. You recognize which muscles are tense or relaxed during which movement and can implement these subtleties in your drawings. This gives your figures vibrancy and authenticity. Your art thus reaches a new level and you create works that impress with their anatomical accuracy and artistic expressiveness.
Find the Right Tools (Without Breaking the Bank)

Want to learn anatomy drawing but feel overwhelmed by the sheer variety of art supplies? Don't worry, you don't need much to get started. This section shows you which tools are truly essential and how to save your budget.
Basic Equipment: Less is More
A few well-chosen pencils are perfectly sufficient for beginners. An HB pencil is perfect for initial sketches. For shading and finer details, 2B and 4B pencilsare recommended. A good eraser and a sharpener are essential, of course. A kneaded eraseris particularly helpful for precise corrections and highlighting.
With this simple basic equipment, you can already achieve initial success and expand your drawing skills.
Paper: The right choice for anatomical studies
Simple drawing paper is perfectly sufficient at the beginning. Pay attention to a smooth surfaceso you can draw fine lines. Later you can experiment with different paper textures. For detailed studies, toned paper is a good choice, as it brings out shadings particularly well.
The choice of paper influences the drawing result, so it's worth trying out different types.
Ergonomics: Drawing healthily and relaxed
An ergonomic workspace prevents back and wrist problems. An adjustable chair and a desk with sufficient space are the foundation. Good lighting protects your eyes. For longer drawing sessions, a tilted drawing board can be very comfortable.
This allows you to work in a focused and relaxed manner and protects your health.
Reference Material: Understanding and Representing Anatomy
In addition to books and anatomical atlases, digital resources such as anatomical apps and websites offer valuable support. They often show three-dimensional models that help you understand the complex structures of the human body. You might also be interested in: our sitemap with further information on the topic of anatomy.
Digital resources often offer interactive features that facilitate learning.
Affordable Alternatives: Quality Doesn't Have to Be Expensive
Many manufacturers offer affordable alternatives to expensive brand-name products. Compare the quality and choose materials that suit your needs and budget. Often, the differences between expensive and affordable products are minimal. With charcoal or red chalk pencils , for example, interesting effects can be achieved without spending a lot of money. Experiment and find out which materials suit you best! With the right basic equipment, you can immediately start drawing anatomy and further develop your artistic skills.
It's worth trying out different materials and finding your own style.
Mastering body proportions: The key to naturalness
Body proportions appear complex at first glance. However, they are essential for natural and harmonious drawings. Instead of struggling with complicated formulas, learn practical measuring methods here and how to avoid typical mistakes.
The Head as a Unit of Measurement: An Easy Introduction
A proven method is the use of head height as a unit of measurement. The human body is on average depicted with seven to eight head heights .
This method helps you estimate the proportions of the individual body parts in relation to each other. This way you avoid legs appearing too short or the torso too long. Test the method and measure the proportions on photos or, even better, on live models.
Classical Proportion Theory vs. Modern Interpretation
Body proportions are crucial in figure drawing for a natural and aesthetic image of the human body. The body is usually depicted with seven to eight head sizes, with the idealized form often being eight head sizes.
Approximately 60% of artists in Germany work with traditional proportion theories, while 40% prefer individual interpretations. This knowledge is not only relevant in art, but also in medicine to diagnose deviations. The classical theory offers valuable guidelines, which do not have to be applied rigidly. Modern representations allow more freedom and individuality. Experiment with different proportions to find your own style.
The following table illustrates the differences between classical and modern proportion guidelines in anatomical drawing.
Proportional Guidelines for Anatomical Drawing:
| Body Part | Ratio to Head Height | Classical Proportion | Modern Interpretation |
|---|---|---|---|
| Entire Body | 7-8 | 8 | 7-8, varies depending on style and physique |
| Legs | approx. 4 | Half of the total body height | Can vary, often longer than in the classical representation |
| Upper Body | approx. 3 | From the base of the neck to the groin approx. 3 head heights | Can vary, depending on the overall composition |
| Arms | approx. 3 | From the shoulder to the fingertips approx. 3 Head Heights | Can vary, often slightly shorter than in the classical representation |
The table shows that modern interpretations often deviate from classical proportions and offer more flexibility.
Common mistakes and how to avoid them
Legs that are too short or arms that are too long are common mistakes. Regular practice and comparison with reference images train your eye and help to identify inaccuracies.
Representing bodies in motion is another challenge. Here, it helps to visualize the underlying skeletal structure.
Representing Diversity: Beyond the Ideal Measurement
Not every body conforms to the ideal. Authentic figures are created by representing different body types.
Pay attention to individual characteristics and proportions to give your figures more character and expression. Practice drawing people of different heights, weights, and ages.
Developing Intuition: A Sense of Proportion
Over time, you will develop an intuitive sense of harmonious proportions. This allows you to draw harmonious figures without constant measuring.
This intuitive understanding comes from regular practice and intensive study of anatomy. So, grab your pencils and get started!
Basic Anatomical Structures That Enhance Every Drawing

Having looked at proportions, we now turn to the anatomical structures that give every drawing depth and realism. Don't worry, you don't have to become an anatomy expert! It's about understanding the key elements that shape the body.
The Skeleton: The Foundation for Convincing Figures
The skeleton is the foundation of every figure. Let's focus first on the most important bones: clavicle, pelvic bone, rib cage, and spine. They determine posture and influence the position of the muscles.
Imagine the skeleton as an inner framework . It helps to understand proportions and develop believable poses.
Muscles: How They Give the Body Shape and Dynamism
Muscles give the body volume and define its contours. Some muscles are more important for the outer shape than others, for example, the deltoid (shoulder), biceps and triceps (upper arm), or the quadriceps (thigh). It is helpful to simplify these muscles and reduce them to their basic shapes
Think of muscles as elastic bandsthat stretch and contract. This helps to understand their function and influence on body shape. For those interested: This collection of anatomical illustrations offers further insights.
Simplified representation: Mastering complexity
No one expects medically precise drawings. The goal is to capture the essential shapes and structures . Geometric shapes like spheres, cylinders, and cuboids help to simplify complex structures.
This simplification facilitates understanding of anatomy and accelerates the drawing process. It is the basis for more detailed representations.
Challenging body parts: Hands, feet, and face
Hands, feet, and the face are complex. A step-by-step approach is recommended here. Start with the basic form and work your way to the details. Always pay attention to the proportions and the position of bones and muscles.
Practice makes perfect! Regularly practicing these body parts leads to more confidence and expressiveness.
Interaction of Bones and Muscles: Anatomy in Motion
Bones and muscles work together to enable movement. Understanding this interaction allows you to draw dynamic and realistic poses. Analyze how muscles change during movement and influence the body shape.
Understanding this interaction allows you to create lively and convincing figures. Experiment with different poses and discover the fascinating world of anatomy!
Figure Drawing: Understanding Anatomy in Motion
Figure drawing is much more than just depicting a nude body. It is a supreme discipline that deepens the understanding of human anatomy in practice and elevates drawing skills to a new level. How do you make the leap from theoretical knowledge to practical application?
From Textbook to Living Form: Anatomy in Action
The transition from anatomy textbook to live model can seem daunting at first. However, experience shows that the initial hesitation is quickly overcome. The key lies in recognizing the learned anatomical structures in the model and focusing on the essentials.
Figure Drawing in Germany: Diverse Courses for Every Level
In Germany, numerous courses and workshops on figure drawing are available for beginners and advanced artists. An estimated 80% of German art academies and universities offer courses in figure drawing, focusing on the artistic representation of the nude human body. These courses are not only an integral part of artistic education but also a popular hobby. Approximately 15% of adults in Germany have already participated in a figure drawing course. Learn more about figure drawing here. From affordable adult education center courses to intensive workshops – the selection is vast. Course size, instructor experience, and pose duration play an important role in the selection process.
Quick Sketches and Long Poses: Two Valuable Practice Approaches
Short poses train the ability to quickly capture movement and dynamism. Long poses, on the other hand, allow for intensive examination of anatomical details. Both approaches are valuable and complement each other perfectly.
You might be interested in: further blog articles about anatomy.
Self-Study: Alternatives to Life Drawing Classes
Those who cannot or do not want to attend a class can find alternatives: anatomical dolls, their own photos, or online resources with anatomical illustrations. Regular practice and application of what has been learned are important.
Respectful Treatment of the Model: An Important Aspect
Figure drawing requires respectful treatment of the model. Suggestive comments should be avoided; the focus is on artistic representation. Open communication between artist and model creates a comfortable atmosphere.
Applying Anatomical Knowledge: Drawing Figures in Motion
When drawing figures in motion, the integration of anatomical knowledge is crucial. The skeleton forms the foundation, the muscles influence the body shape. This creates dynamic and convincing drawings.
Through regular practice and the conscious application of anatomical knowledge, figure drawings continuously improve and the understanding of the human body grows.
From Flat to Three-Dimensional: Techniques for Convincing Bodies
After learning the basics of anatomy and proportions, we now want to give our figures depth and three-dimensionality. So how do we transform flat lines into convincing bodies? This section explains the techniques that will turn your drawings into true masterpieces.
Shading: Modeling Muscles and Forms
Shading is essential for creating body plasticity. With precise shading , you emphasize muscle structures and give volume to the forms. A smooth transition from light to dark creates the impression of curves.
Experiment with different shading techniques – hatching, blending, or stippling. This way you can find out which method suits you best and achieves the desired effect. You can find out which materials you need for this in the table below.
Linework: Bringing Surfaces to Life
The linework also plays a crucial role in designing the surface texture. Short, dense strokes are excellent for depicting rough skin, while long, flowing lines create a smooth surface.
By varying your strokes, you can simulate different skin qualities and textures. Experiment with different pens and drawing methods to achieve the desired effect.
Capturing Dynamic Movement: Visualizing Tension and Energy
Depicting movement presents a particular challenge. Pay special attention to the body axes and the position of the joints. A slight exaggeration of the movement creates dynamism and energy.
Consider which muscles are tense or relaxed during the respective movement and how this affects the body shape. First, sketch the line of actionbefore working out the details.
From basic structure to detail: A systematic approach
Always begin your drawing with the basic structure. Sketch the skeleton and the main muscle groups before gradually working your way to the details.
This systematic approach helps you to keep the proportions in view and avoid mistakes.
Light and shadow: Creating three-dimensionality
The interplay of light and shadow is crucial for the spatial effect of your drawing. Determine the light source and analyze how the shadow falls on the body's surface. Bright areas emphasize the curves, dark areas the recesses.
By the targeted use of light and shadow, you give your figures depth and realism.
The following table summarizes the most important drawing techniques and gives you an overview of their application, the level of difficulty, and the required materials.
Table: "Drawing Techniques for Anatomical Details"
This table shows various drawing techniques and their suitability for different anatomical structures and effects.
| Technique | Best Application | Difficulty | Required Materials |
|---|---|---|---|
| Hatching | Representation of textures, shading | Easy | Pencil, paper |
| Blending | Soft transitions, modeling of shapes | Medium | Pencil, paper, Blending stump |
| Stippling | Highlighting textures, light effects | Easy | Pencil, paper, cotton swabs |
| Cross-hatching | Deep shading, realistic representation | Advanced | Pencil, paper |
| Contour drawing | Representation of shapes and outlines | Simply | Pencil, Paper |
As the table shows, there are a variety of techniques suitable for different purposes. From simple hatching to sophisticated cross-hatching – try different methods to achieve the desired effect. By combining these techniques and practicing regularly, you can continuously improve your anatomical drawing skills and create compelling, three-dimensional figures.
Continuously improve (even with limited time)
Want to learn how to draw anatomy but have little time? No worries – even with a busy schedule, you can make steady progress. In this section, you'll learn how to effectively improve your drawing skills, even if you only have 15 minutes a day.
Realistic practice routines for everyday life
Many artists practice anatomical drawing alongside their full-time job. The key to success lies in the integration into everyday life. Use short breaks or the time before bed for short practice sketches. Even your commute, for example on the train, can become a practice session.
Integrated, short practice units are often more effective than sporadic, multi-hour sessions. Regularity is crucial for your learning success.
Progress without external feedback
How can you measure your progress without a teacher or mentor? Focus on concrete improvements. Is it easier for you now to estimate proportions? Do your shadings appear more three-dimensional? Compare your current drawings with older works to document your development. Photos of your drawings will help you to objectively assess your progress.
This method strengthens your self-confidence and promotes your self-motivation
Individual Practice Plans
A personalized practice plan helps you achieve your goals. Just 15 minutes of daily practice is enough to make noticeable progress. Schedule longer practice sessions on weekends for more complex studies.
Here are three examples of practice plans:
- 15-Minute Session: Focus on one body part, e.g., hands. Sketch various hand positions from different perspectives.
- 30-Minute Session: Draw a full figure with a focus on proportions. Use the head height as a unit of measurement.
- Weekend Workshop: Intensive practice with a model or anatomical atlases. Focus on the depiction of muscles and shading.
Overcome learning plateaus
Every learning process has periods of stagnation. If you notice your progress is plateauing, try new techniques . Change your art supplies or experiment with different styles.
Exchanging ideas with other artists in German-speaking communities can provide new inspiration and help you overcome learning plateaus.
Document your progress
A sketchbook is a valuable tool for documenting your development. Note down your observations and insights. This way, you can see how far you've come and stay motivated.
Documenting your progress also serves as a valuable source of inspiration for future projects.
German Language Learning Resources
There are numerous German language resources available to support you in anatomical drawing. Books, online tutorials, and forums offer valuable knowledge and opportunities for exchange. Search for German-speaking artist groups near you. Exchanging ideas with like-minded individuals motivates and promotes learning success.
The internet offers a wealth of information and networking opportunities. Use these resources to expand your knowledge and improve your skills.
Discover the fascinating world of anatomy and bring your drawings to life! With Animus Medicus you will find high-quality vintage-style anatomy imagesthat will inspire you and deepen your understanding of the human body.